

Contents
Accidents happen, drivers fail, and corrupted system files manifest. If you're reading this, there's a good chance you're having issues and are wondering how to repair Windows 10. SFC, or the system file checker, is a native windows repair tool to fix your system files, while DISM (Deployment Image Servicing and Management) can resolve issues with the hidden repair image.
These tools are technically intended for IT professionals, but their ease of use makes them accessible to basically anyone. Though you'll have to spend a bit of time in PowerShell, using DISM and ‘sfc scannow' to repair Windows 10 can save you a lot of time and avoid the data loss of Microsoft's more user-friendly tools.
As SFC will only run into issues if your Windows 10 repair image is damaged, we recommend running it first to save a lot of hassle. If ‘sfc scannow' fails, you can then move onto DISM and repeat the process.
How to use SFC to Repair Windows 10 and Corrupted System Files
To repair Windows 10, we first need to open PowerShell with elevated permissions. Press “Windows + X” to open the start context menu and select “Windows PowerShell (Administrator)”.

Once the command line loads, enter sfc /scannow and press Enter.
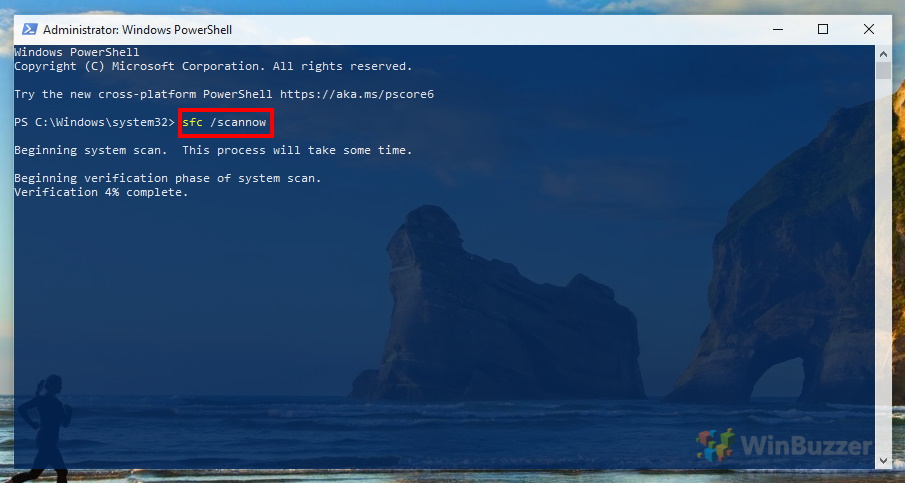
The Windows repair tool will now check your system files for corruption and automatically replace the ones that are damaged or missing. Though it warns you “This process will take some time”, it's really quite fast on an SSD. If the command window does inform you it replaces files, restart and run the command two more times to make sure it catches everything.
Repair Windows 10 with DISM
Using DISM is a little more complex, which is another reason we recommend it as a second step. Using it is a three-step process, and the first is checking the component memory of Windows for errors.
Press “Windows + X” and select “Windows PowerShell (Admin)”.
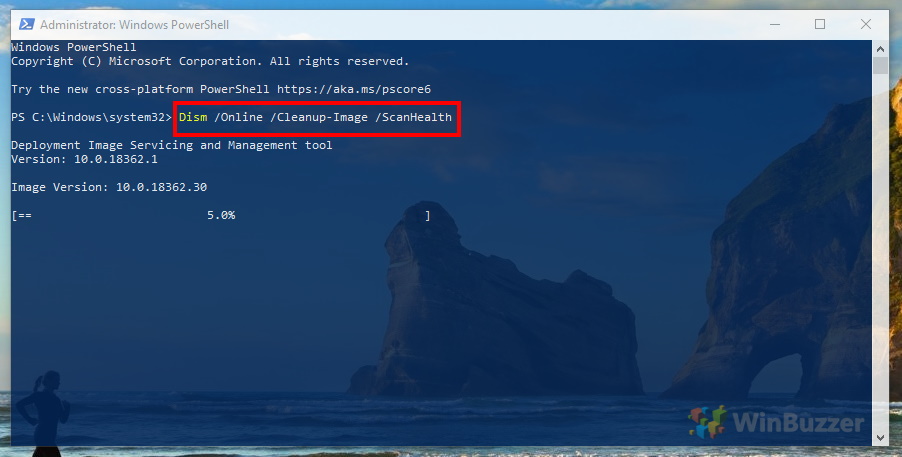
Now check the component memory with Dism /Online /Cleanup-Image /ScanHealth. Wait for the process to finish.
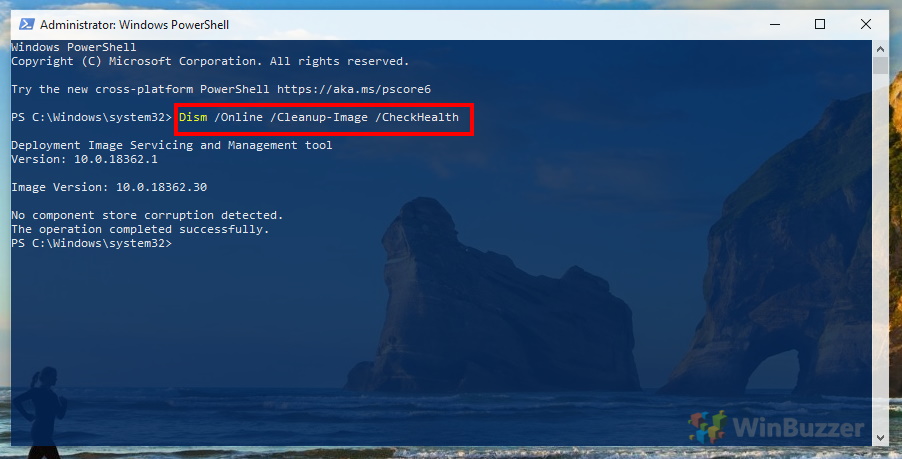
Now we can run DISM /Online /Cleanup-Image /CheckHealth to do an advanced scan for any fixable damage.
Finally, if DISM finds any errors, we can try to repair Windows with Dism /Online /Cleanup-Image /RestoreHealth.
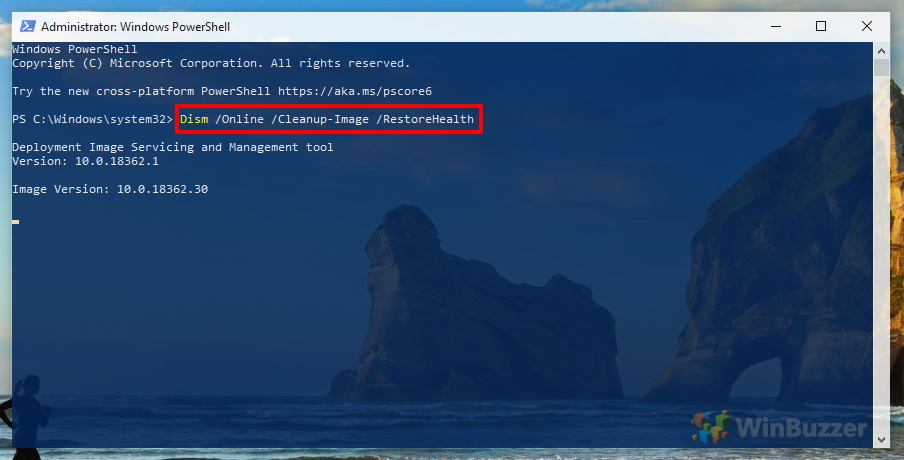
This one could actually take a while, so feel free to grab a drink while you wait. With hope, you'll return to an uncorrupted Windows.


